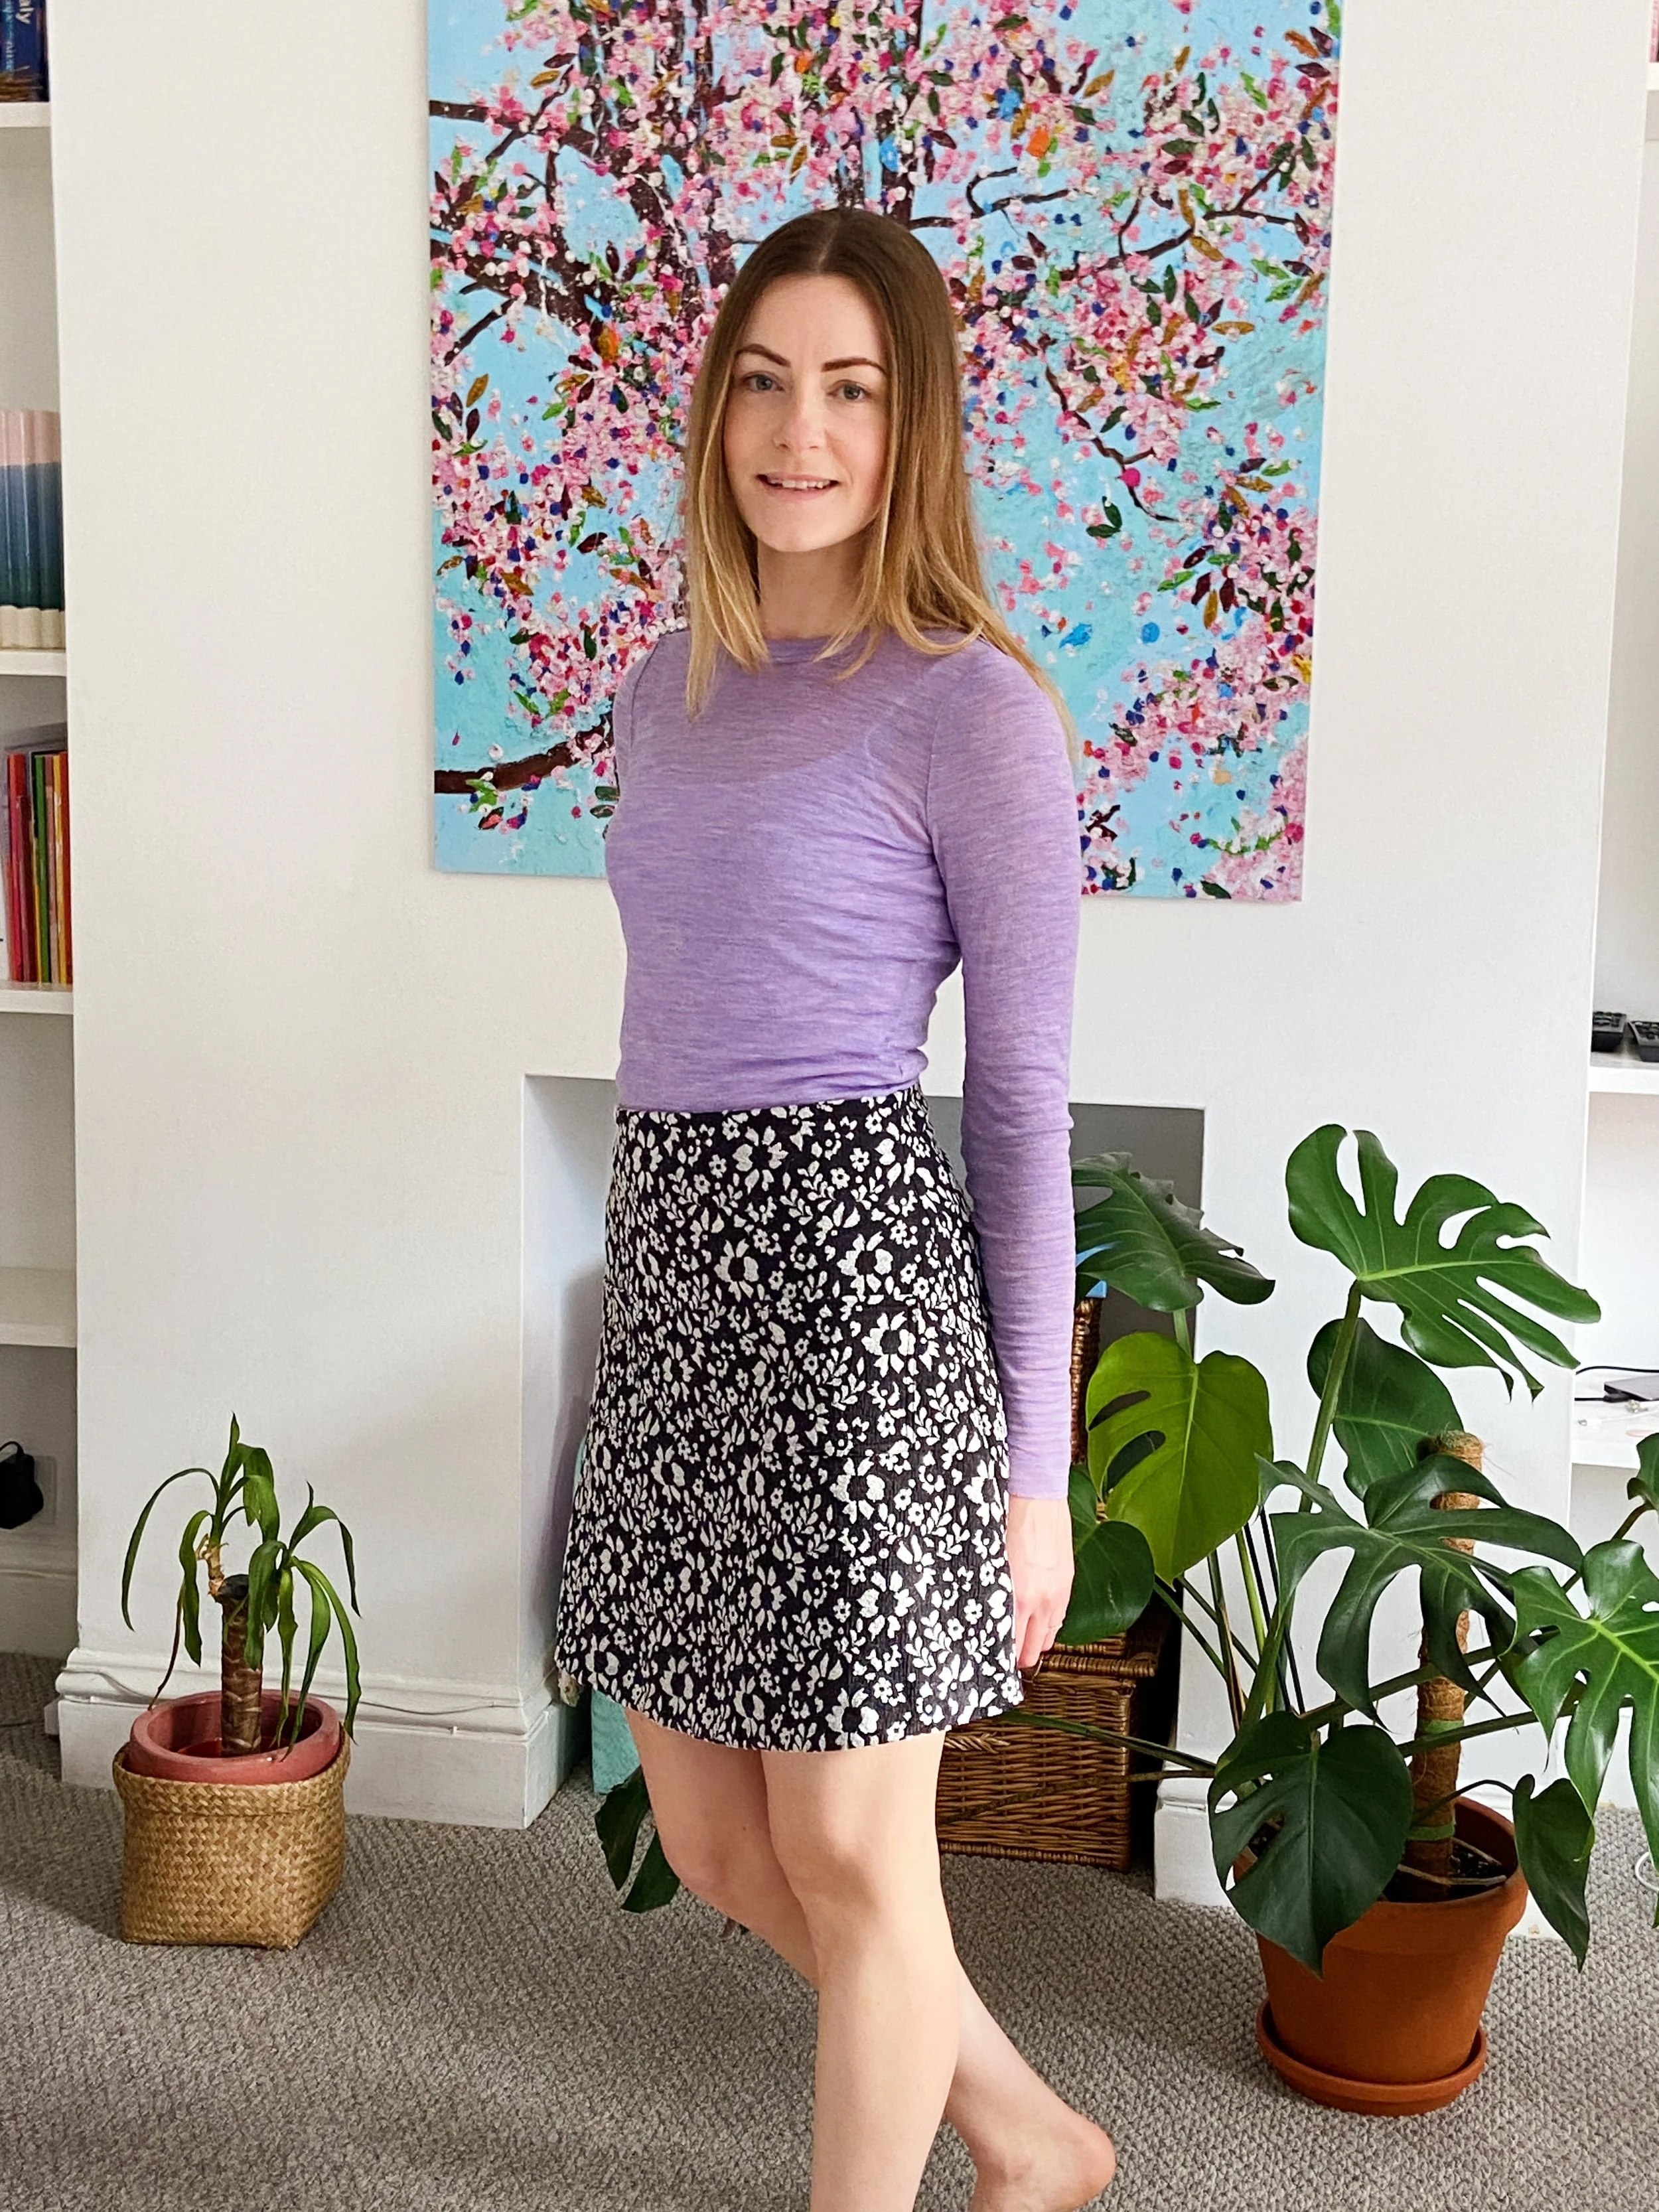
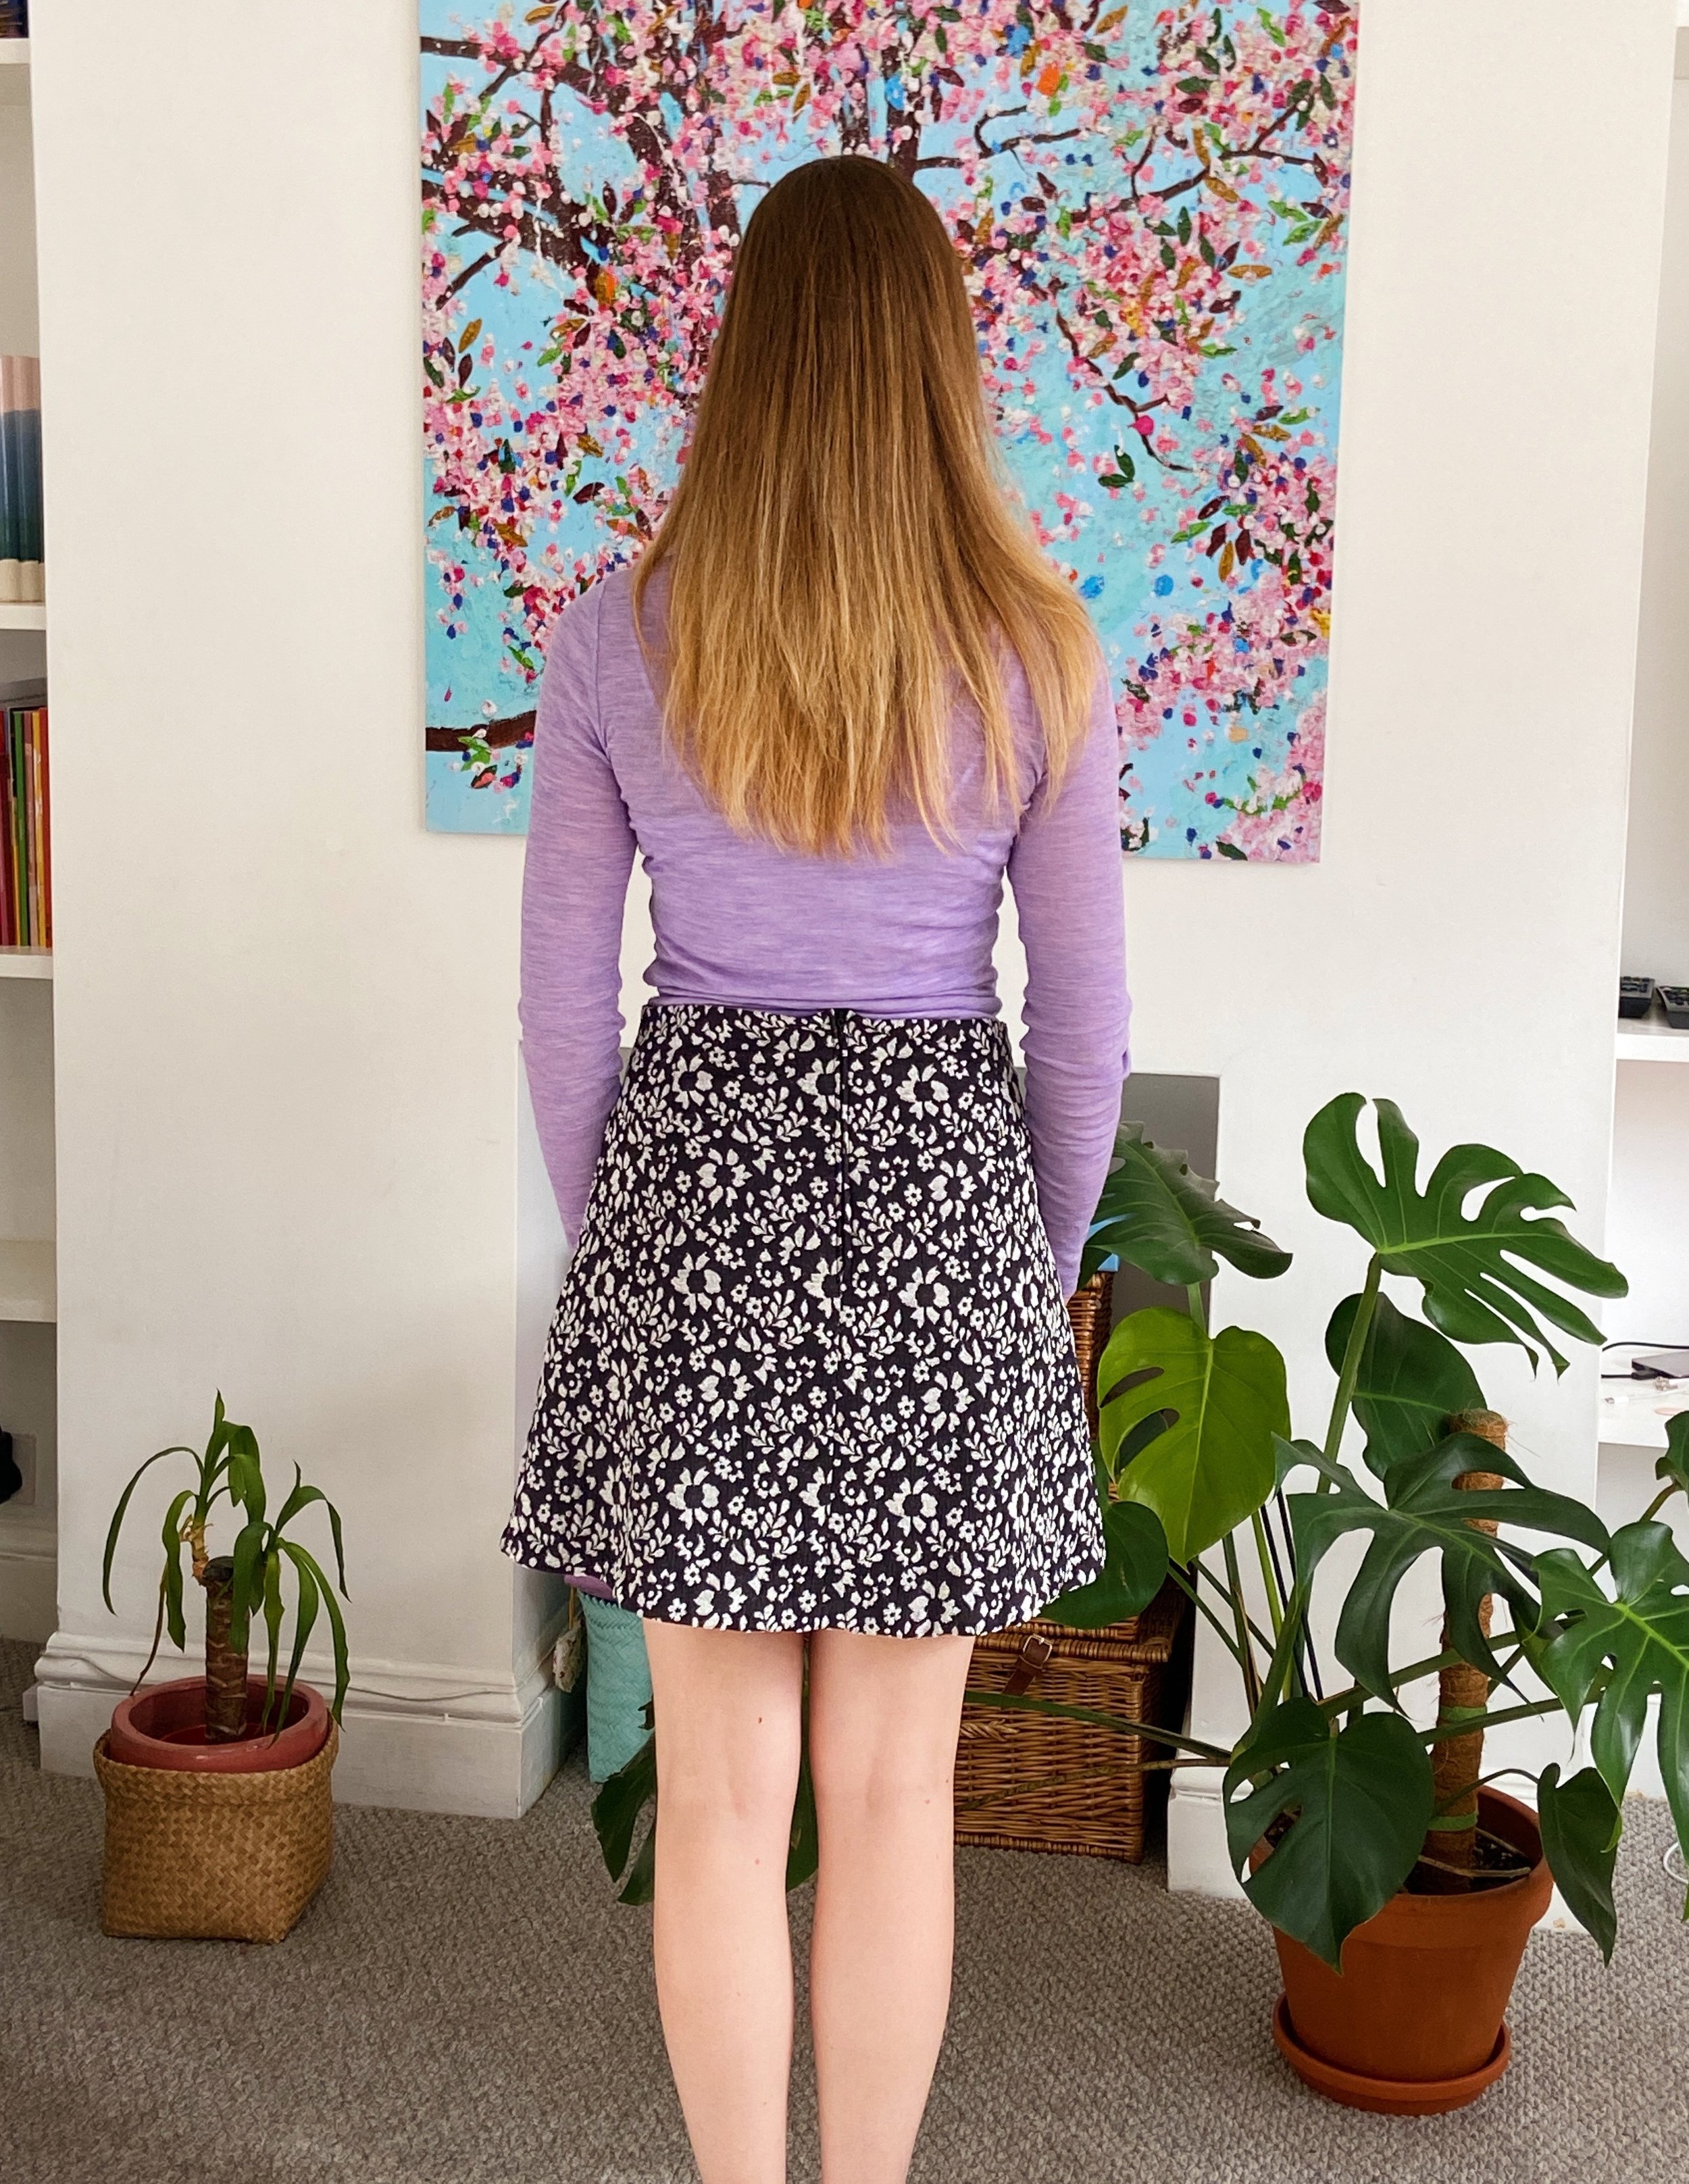
Jacquard a-line skirt based on the Tilly and the Buttons Delphine
I bought this lovely cotton jacquard fabric from Simply Fabrics last Christmas, thinking the lockdown would go away and I would be able to wear it. It didn’t take long before it became apparent that the lockdown would be in place until spring, so my sewing plans shifted and this pretty fabric remained in a drawer waiting for Autumn 2021. The plan was always to make an a-line skirt, somewhere between this & Other Stories Houndstooth Mini Skirt and this & Other Stories Belted Mini Skirt - I wanted a simple a-line skirt with no waistband or belt, shaped with darts. I searched high and low for the right pattern, but surprisingly, couldn’t find something that fitted the brief. In the end, I decided it should be easy enough to draft my own pattern.
I already had the Tilly and the Buttons Delphine Skirt pattern in the Love at First Stitch book (I made this skirt a couple of years ago), so I used this as a base. The Delphine Skirt has a very strong a-line with no darts and a thick waistband. I instead wanted something with darts and no waistband, so my first step was to combine the waistband and skirt into one pattern piece. I then cut out a toille using calico and added in the darts. I tend to find my waist measures a smaller dress size than my hips, so I just traced the skirt to fit my hips and had plenty of fabric left for waist darts. Despite making a toille, I did still find that the skirt had a bit too much fabric in the sides, so I took the side seams in by about 1cm after making the skirt in the jacquard fabric.
When I made my first delphine skirt, I struggled to get the zipper to sit flat. I unpicked and re-sewed the zipper so many times and yet it continued to stick at out the bottom of the zip. This time around, I did some Googling and found a much better method for sewing a zipper into the back of a skirt from Professor Pincushion. This method keeps the zipper flat the entire time, avoiding issues with the end tapering into the seam allowance at the end.
Place the fabric right sides together and mark the beginning and end of the zipper.
Sew using long stitches (basting stitch) for the length of the zipper and then shorten to your standard stitch length for the remainder of the seam.
Press the seam allowance flat. Place both pieces of the skirt to one side of the seam allowance, leaving the other side of the seam allowance sitting to the opposite side.
Unzip the zipper and lay one side down over the seam allowance sitting away from the skirt pieces. The skirt pieces and zipper should both be wrong side up. Align the centre of the zipper with the centre seam. Baste in place.
Turn the two skirt pieces out flat so the two halves are both facing down. Zip the zipper and baste the zipper in place from one top edge, down the size, across the bottom of the zipper and back up the other side.
Turn the skirt pieces the right way out and sew the zipper in place from the front side of the skirt using a standard stitch length and matching thread.
Unpick the basting stitches and you’re done!
I lined my a-line skirt with a soft woven viscose, also purchased from Simply Fabrics. I also added two square pockets on the front for extra detail - and because pockets are always best! I didn’t want to add pockets in the side seam, in case they affected the structured a-line shape of the skirt.
The one thing I still haven’t worked out is how some professionally made skirts comes with the lining fully stitched in place, with no visible stitching on the waistband or hemline - this is something I’ll have to work on for next time. If I feel very confident with my zipper process next time, I might consider stitching the lining to the zipper at the same time to hold it in place. Aside from these professional details, I’m really happy with the end result and can’t wait to wear it all winter long.


