
McCall's M7946 Dress with Shirring
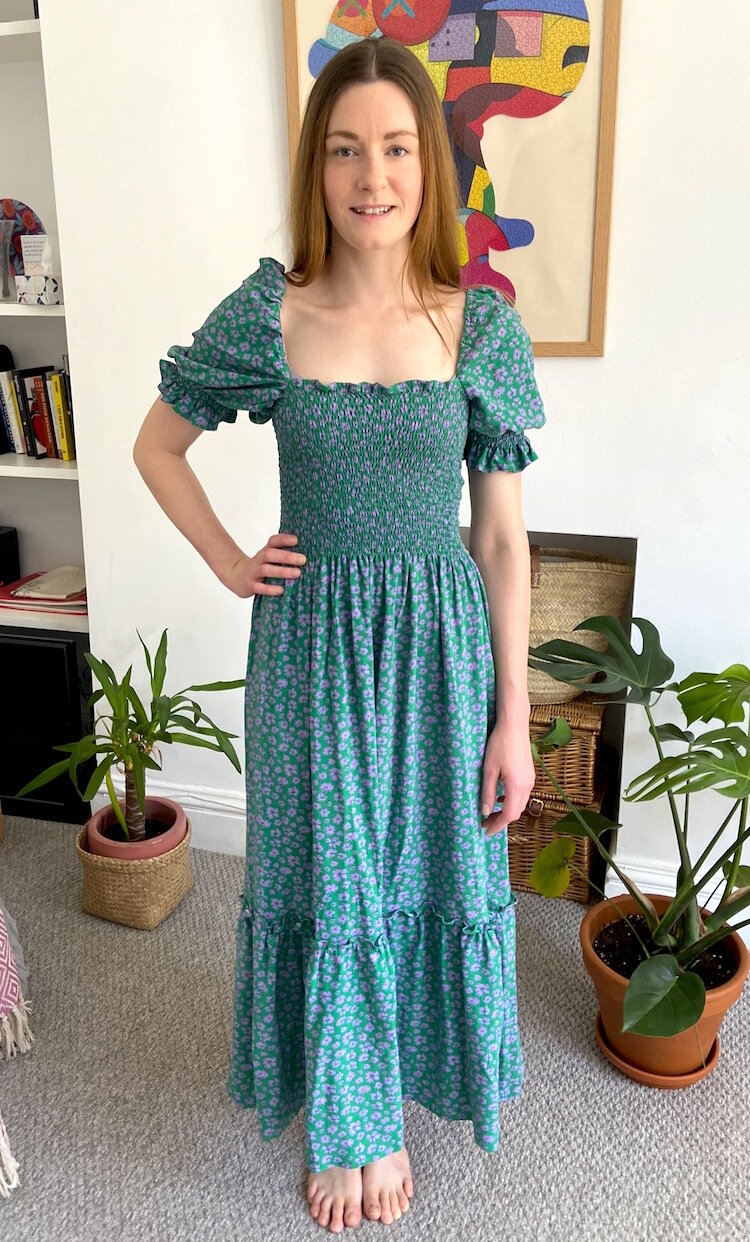
This dress has easily made it into my list of favourite makes so far! As the weather started to get warmer (and we were all locked down at home with nowhere to go) I noticed a lot of very pretty shirred dress. The inspiration initially came from & Other Stories and as I often do, I thought to myself ‘I could totally make one of those dresses myself!’ I spent quite a long time searching for patterns but because I’m so accustomed to buying indie patterns, I didn’t even look at the big pattern brands. I chanced upon this pattern after scrolling through Instagram when I came across Martha aka Buried Diamond’s absolutely beautiful M7946. The fabric is a woven viscose from Stof & Stil. I had heard a lot of good things about Stof & Stil but this was the first time I had bought anything myself and I was quite impressed - the fabric is beautiful, affordable and it arrived super quickly!

Like Martha, I used the sleeve pattern for version B/C and the skirt/frill pieces for version D. I cut the sleeve pattern at a point between B and C - my version is neither the capped or three quarter length sleeve. I used the line above the hem for C as my hem. I also created my own bias binding using my fabric. I did watch Dana from MADE Everyday’s quick tutorial as a reminder on the best way to cut bias binding, as a reminder. I don’t have a rotary cutter so I had to use my fabric scissors. While this isn’t as accurate, I still found that it worked perfectly fine and produced much prettier bias binding than if I had used a premade roll. I had ordered a bias binding maker beforehand but unfortunately, due to lockdown complications, it never arrived in the post. It wasn’t too difficult to press the binding by hand, it’s just a bit more time-consuming.

Cutting the bias binding
I had never previously shirred so it hadn’t occurred to me that I didn’t need a pattern specifically designed for shirring. The M7946 is designed with a similar idea in mind but instead of shirring, it has rows of elastic sewn into bias binding cases on the reverse side. I loved Martha’s version of the dress so I decided to do exactly the same. This meant changing the order of the instructions slightly. I attached the bias binding to the top of the dress before shirring, rather than after attaching the sleeves. I didn’t find this to be an issue - it was still easy enough to add the sleeves later.
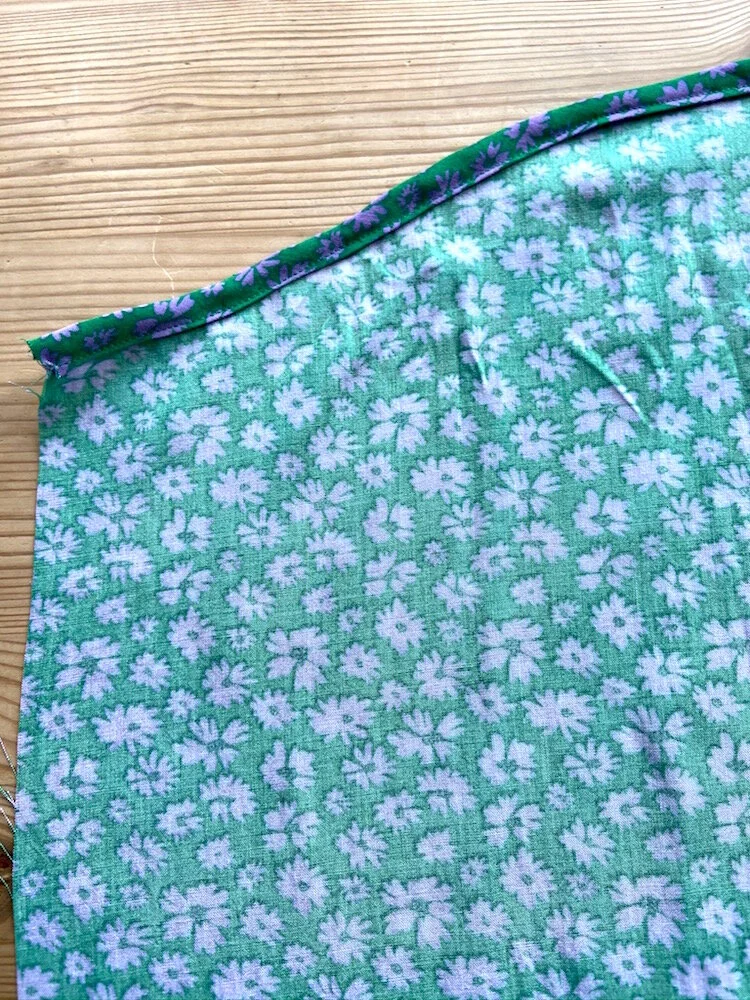
The bias binding attached to the dress
The shirring was easy enough to do but it did take a few practices on a piece of scrap fabric. After playing around with it, I realised all I had forgotten was to pull the elastic thread through the bobbin holder to create tension. Once I worked this out, it was simply a matter of repetition to shirr the top down to my waistline. I just tried the dress on before finishing the shirring to establish my waistline. I also shirred four rows on the sleeves instead of adding elastic. The only piece of the pattern where I used elastic as instructed was on the shoulders of the sleeves.
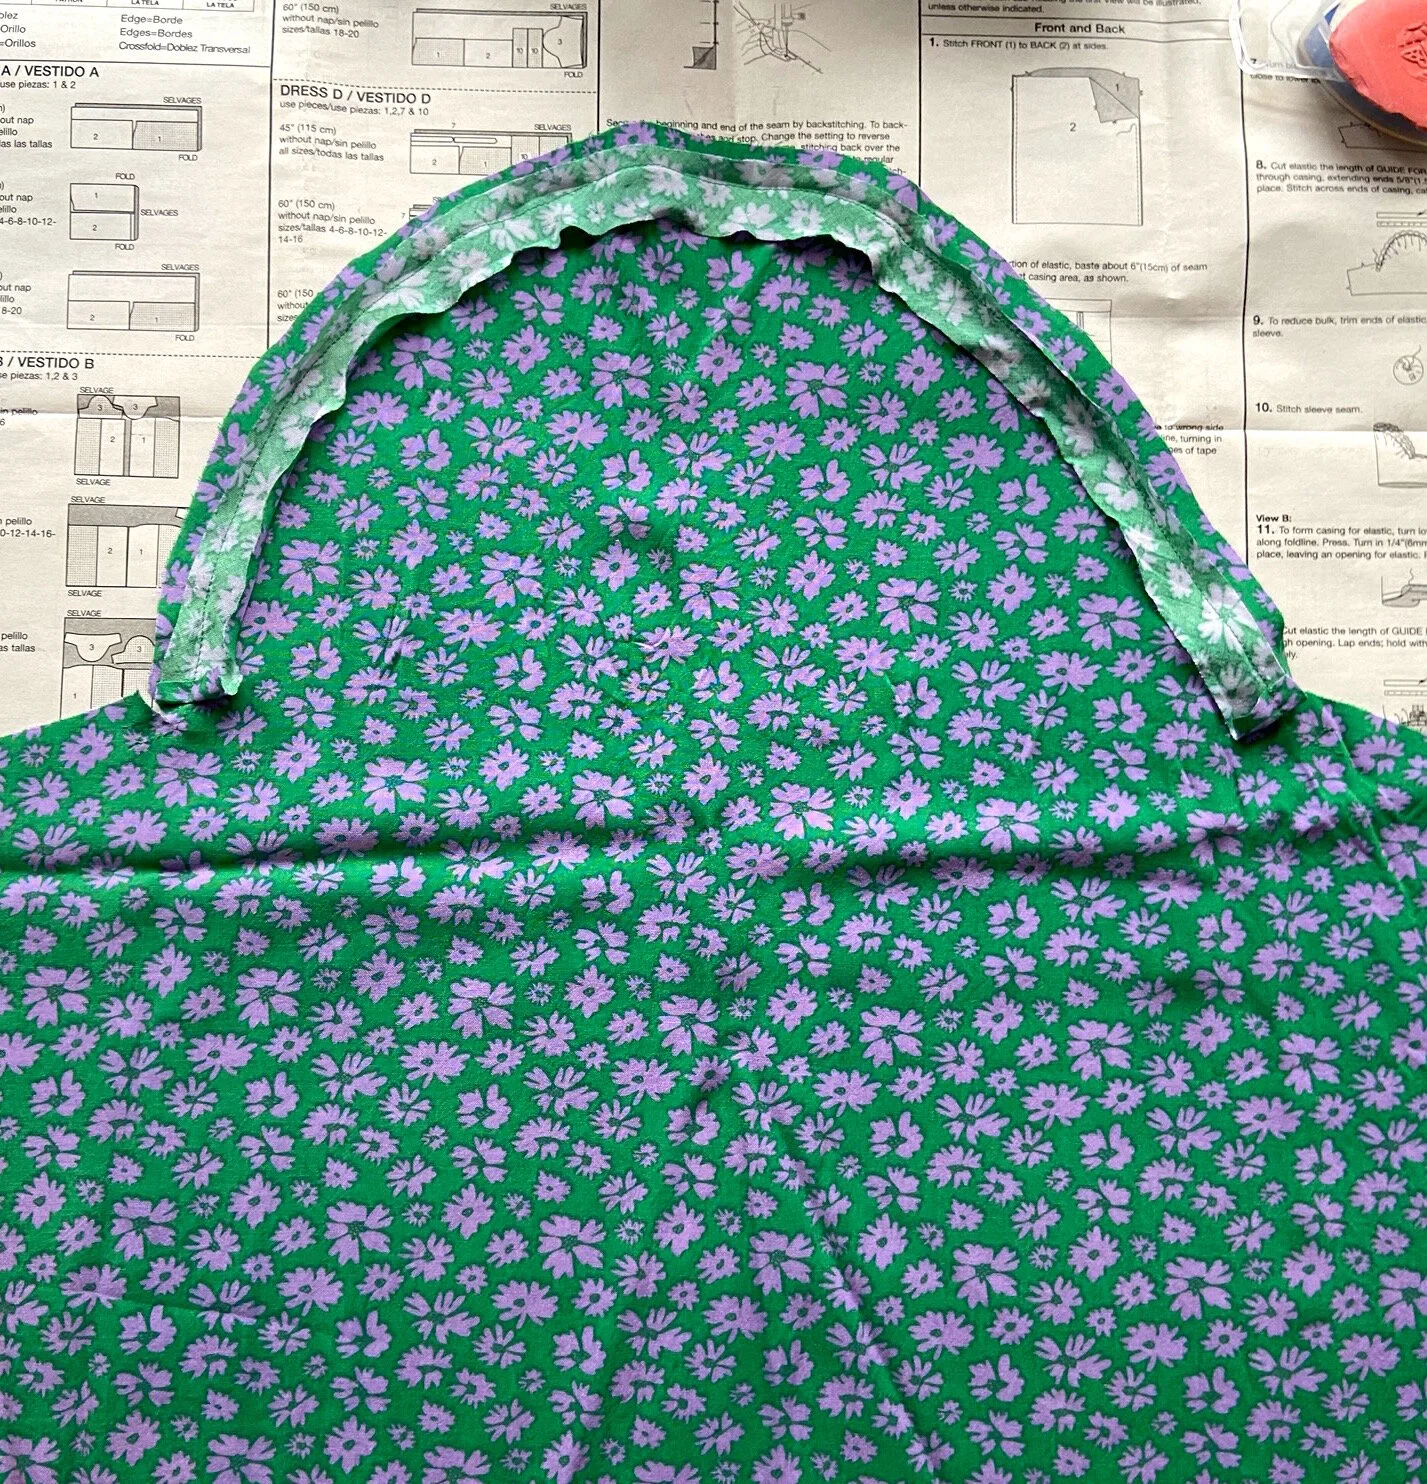
Constructing the sleeve
This dress wasn’t the fastest make because of all of the embellishments but it was very simple and stress-free. It’s not unlike me to make a mistake somewhere and have to unpick/re-fit but that didn’t really happen with this dress at all. I did find the ruffled hem slightly complicated to attach as it kept folding on the reverse side, but otherwise, it was a breeze to make. I’m so happy with the fit - elastic really does make things easier! The pattern pieces for the bodice/dress and frill are almost literally rectangles so when I cut the pattern out, I was suspicious as to how it would turn out, but it’s safe to say I’m very happy with the results.


