
Floaty summer Davenport Dress and Alder Shirt Dress mashup

I made this summer dress while I was in quarantine in Australia earlier this year. With ample free time on my hands and nowhere to go, I thought I should embark on a more challenging project. I was inspired by a beautiful Celia B dress I recently bought and thought I could make something similar using pattern pieces I already had - and bravely went straight ahead with cutting out my pattern pieces. The fabric is covered in a gorgeous abstract pattern, so I did my best to pattern match where I could and really took my time in the early stages of the project. The skirt and ruffle pieces came from my Davenport Dress pattern, while the top was an adaptation from my Alder Shirt Dress.

I started by constructing the skirt and tiered gathers, which were easy enough to calculate. I used a reference on Pinterest to calculate the dimensions:
Top gather: 4 x 62cm wide x 28cm high
Bottom gather: 4 x 81cm wide x 28cm high
Since I didn’t have an overlocker with me in quarantine, I made French seams where I could, to keep the seams neat and ensure the dress lasts a long time.
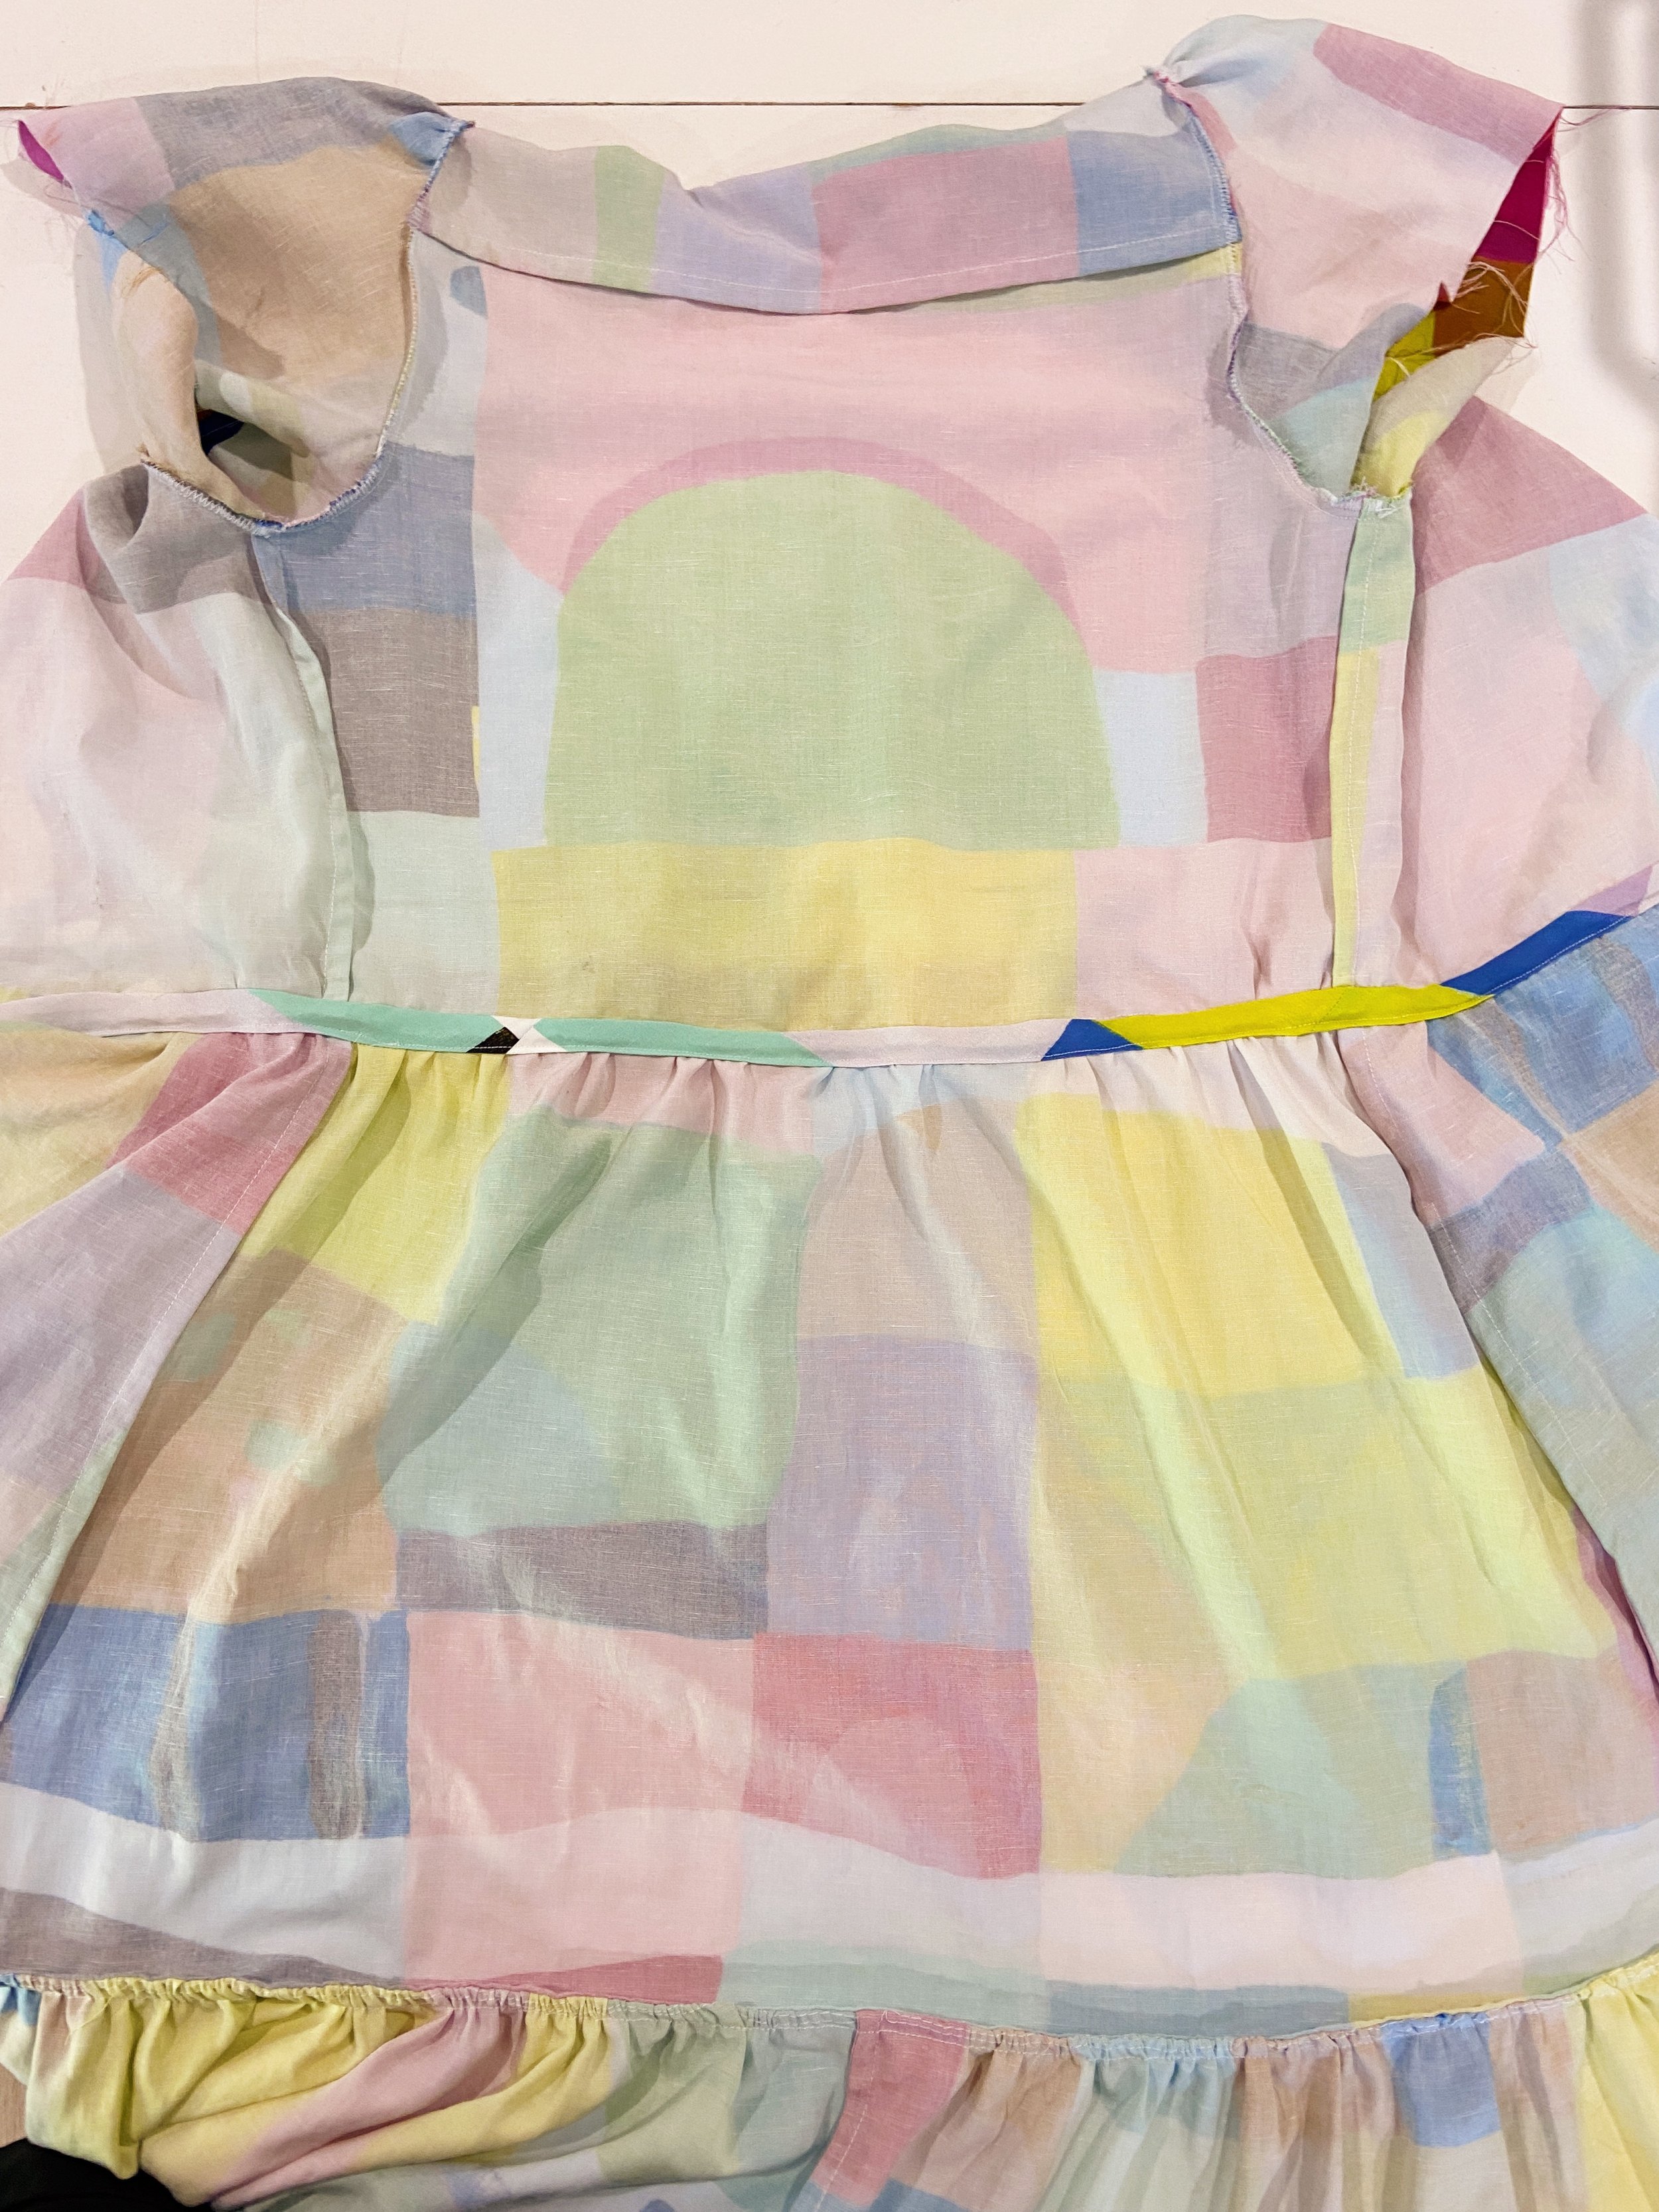
I knew I would need to adapt the top pieces, since the Alder Shirt Dress has a loose, relaxed fit. I started the top by attaching he back yoke to the back piece, followed by attaching the back and front pieces at the shoulder seams. I then tried the top on to get the fit right before sewing the side seams, however it’s always hard to tell when you don’t have the buttons in place and skirt attached. I opted to keep a somewhat loose fit to the top and not add darts, but I do have a slight regret about this choice since the top ended up being a bit too loose for my liking.

The next step was to construct the pockets, because all good dresses have pockets! I simply created the Davenport Dress pockets, so there weren’t any adjustments at this stage. I first stitched the pocket facing pieces to the front skirt, then flipped the pocket facing open, pressed the seam allowance towards the facing and under stitched the seam allowance to the facing. The pocket bag was then attached to the facing along the curve and the pockets were folded under the skirt and pressed.
I then moved onto gathering the top of the skirt following the usual method of sewing two rows of long gathering stitches, followed by attaching the top and skirt. I made the drawstring waistband from the Davenport Dress pattern by joining three pieces (two front and one back), but adjusted it to fit the smaller waistband on my modified Alder Shirt Dress top. At this point, the dress was looking beautiful and I was convinced I was on track to complete a near-perfect self-made masterpiece.

I didn’t have an appropriate pattern piece for the sleeves, so I designed my own by testing a few designs on tracing paper. The sleeves worked out well with no issues, but my foray into collar design wasn’t quite so successful. I attached a few collar versions to the top, but they weren’t sitting right so I referenced a YouTube video to trace my own Peter Pan style collar. The dress at this point was looking very close to finished. I tried it on and realised there was too much loose fabric at the front of the top, so I did the obvious thing and simply trimmed down the inner front edge. When I did this, I had to unpick my collar and then couldn’t get it to fit again (and had very little fabric leftover), so I swapped the collar for a faced neckline. In all honestly, I think the lack of collar actually looks OK, given the dress already has plenty of drama.
I then moved on to the button placket, which runs the entire length of the dress (130cm). The placket was faced and stitched in place, and the button holes were sewn… and then I realised I sewed them on the wrong side of the dress. It’s not the worst mistake and probably unnoticeable to most, but annoying nonetheless. But the real issue came when I tried the dress on again and realised that the ruffle seams in the skirt didn’t match on the left and right sides. Of course they didn’t - I had mindlessly trimmed them in the previous step without thinking to check whether they still matched.
Because the buttonholes were already stitched in place, I couldn’t simply unpick the button placket. I didn’t have enough fabric leftover to cut another 130cm length so I fired off an email to Nerida Hansen in the desperate hope that they had some leftover fabric but alas, the uniqueness of limited run fabric goes hand-in-hand with it selling out. So, I did something no sewist wants to do and I made an ugly workaround by unpicking a small section of the button placket near one of the ruffle seams, cutting the placket, taking in a small section of the seam and then re-attaching the section of placket with a seam across it. To be perfectly honestly, it’s over my shin so again, unlikely to be noticed by most, but it was an upsetting end to what looked to be such a perfect dress.

Despite my stumbles towards the end of the project, I have still ended up with a beautiful and unique me-made dress that I’m excited to wear more this summer. The lesson of course is to always leave a bit of extra fabric spare so it is possible to fix your mistakes, especially when buying fabric from a limited run. Aside from the placket disaster, the other change I’d make is to use a more fitted pattern for the top half of the dress and bring the waistline up a centimetre or two.

