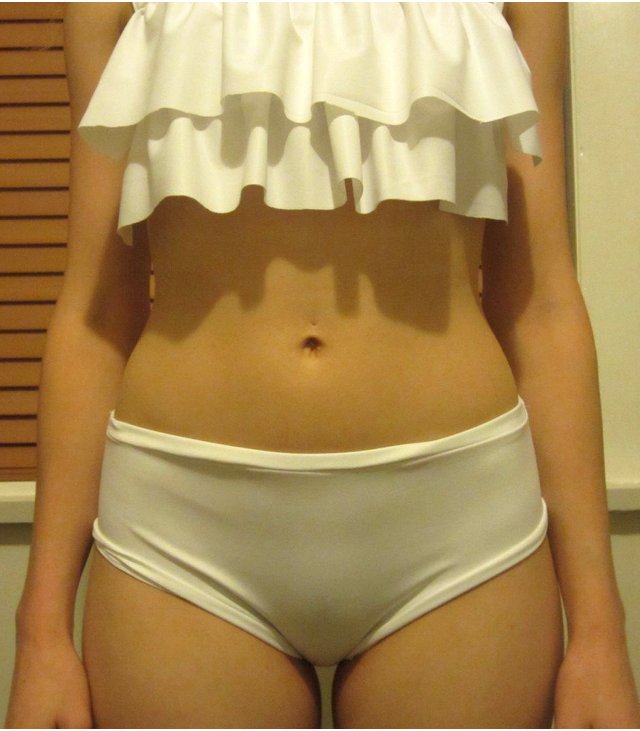
How to sew your own Bikini
I am feeling slightly guilty for having been absent for so long, but I swear there was a reason! I have finally, after many weeks of sewing completed my first DIY bikini. This project started with a simple idea when I found some swimwear fabric discounted, and quickly turned into a much more complicated project than I expected. I did a bit of research online beforehand to get ideas, but basically I designed the bathers myself without using a pattern. For some reason I thought this project would be easy since bathers are such a small item, so now I know why they can be so expensive. The constant movement of the ultra stretchy fabric can be a tad frustrating, but it's always satisfying once you've finished a project like this.
So how did I make them? Here are some basic instructions if you would like to give this a go.
1. Firstly, I laid out the fabric and using measurements of myself and some basic guidance from an existing bikini, I traced and cut out the pieces. Since I used white fabric, I used double layers in certain areas.
2. To create the top, I used tight front and back panels and then added two gathered pieces. I used a simple gathering technique by sewing straight stitch along one length of the two pieces to be gathered without securing either end of stitching. I then pulled one thread to gather the fabric along, and pinned it to the top edge. I repeated the same process with the second piece of gathered fabric, pinning it half way down the top. Both pieces were then sewed in place.
3. The back pieces of the bikini top were sewn on before adding edging to the top. I used edging on all edges of both the top and bottoms mainly because I thought this would be easier than trying to fold back the edges of fabric, especially on bather bottoms. To create the edging, I cut out strips of fabric that were 3cm in height and long enough for each edge. I then pinned the fabric face down to the edge and sewed one side in place, before turning the edging inside the piece and pinning and sewing it to the inner seams. By sewing the inside of the edge to the seams, i removed the need for perfect straight stitching on the outside, which can be hard to achieve on stretchy fabric. I then threaded elastic through the bottom edge to keep the bikini in place.
4. The final step to the top was to add the straps and clear bikini clips. I used the same 3cm high strips and sewed them inside out, before turning them out the right way to create long tubes. The clips were then hand sewn to the back.
5. Despite the bottoms seeming to be the least complicated, they actually took quite a bit of time. I used double fabric on the front, however I left the back with just one panel to avoid making the bottoms too bulky.
6. The waist and leg edging was sewn onto the bottoms in the same method that I used for the edging on the top.
7. I threaded elastic through the waist of the bottoms and secured the edging closed.
I have to say I'm fairly happy with the end result, it's just a pity that Melbourne has turned on the autumn weather.


